
Main: Stamps: Projects : Clay Pins
Polymer Clay Pins
with
Jambalaya
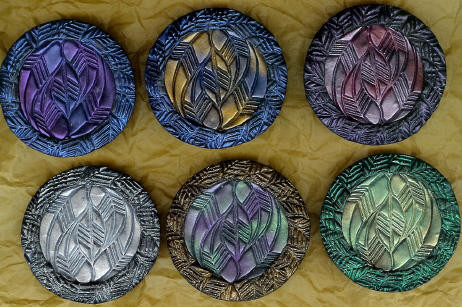 |
Polymer Clay is a wonderful medium for stamping into. As you see the steps, you'll understand why I like to keep my stamps completely UNmounted |
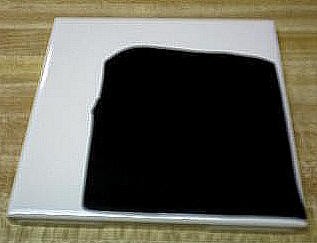 |
First rule of Polymer Clay is to condition it. Roll it through the pasta machine until it's supple. After conditioning the clay, make a sheet by rolling through pasta machine on thickest setting, and lay it down on a ceramic tile. |
 |
Place UM stamp face down on clay, near the corner of the tile. |
 |
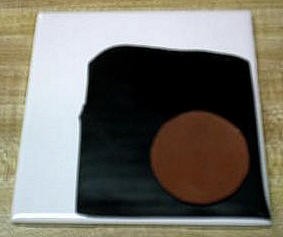
Use an acrylic rolling pin to push the stamp into the clay, using even pressure. Gently lift stamp off clay. |
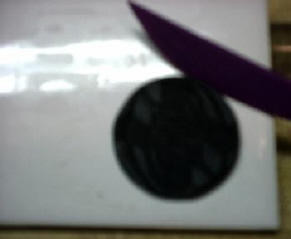 |
Using a plastic clay knife, cut excess clay from around the image, and smooth edges |
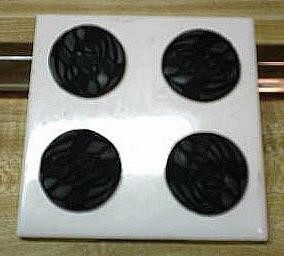 |
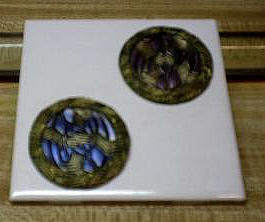
Working carefully so as not to mar previous medallions, add 3 more so you can bake 4 at a time on your tile.
|
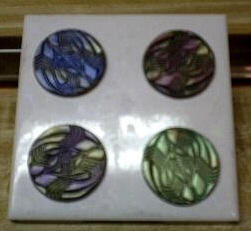 |
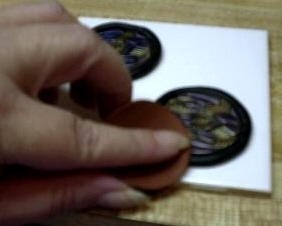
Use any brands of Mica powders , brush gently onto raw clay. Bake the whole tile as per clay package directions. |
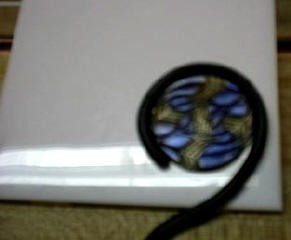 |
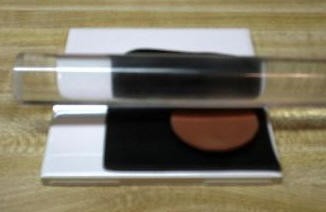
Place a baked medallion on clean tile. Roll a snake of clay to encircle medallion, forming a bezel. |
 |
Use same UM stamp to press into bezel |
 |
Add mica powders to bezel, and bake again as per directions. |
 |
For a nicely finished backing, roll clay at a thinner setting, and place on back of medallion, trimming with clay knife |
 |
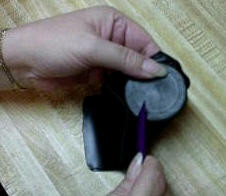
Using the pinback, mark placement of pin while looking at the front. |
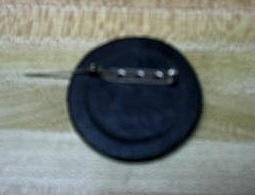 |
Push Pin Back into clay. |
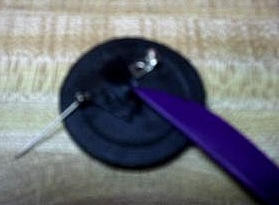 |
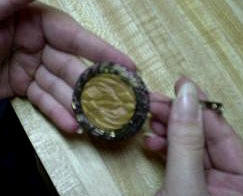
Using scraps from thin sheet, cover pinback and smooth out clay with fingers. Once it is covered, again use UM stamp to stamp all over backing to create texture, and hide fingerprints. At this point, I use my personalized stamp. Final baking is done with pin face down in a pan of cornstarch. |
© V. Blancq 2003
Copyright©
2000-2016 Stubby
Stampers.
New additions
January 10, 2016
Website
Design By VABHAB Designs.