
Main: Stamps: Projects : Masking Class
Masking 101
with
Andy
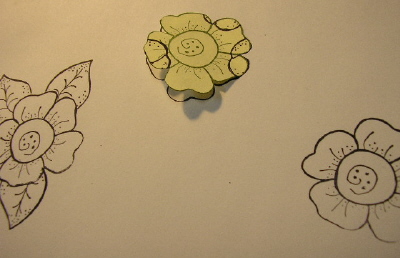 |
Step 1 Stamp flower image several times on text weight paper or post it notes Carefully cut images out, on or just inside the outer lines Also stamp main flower image on white paper |
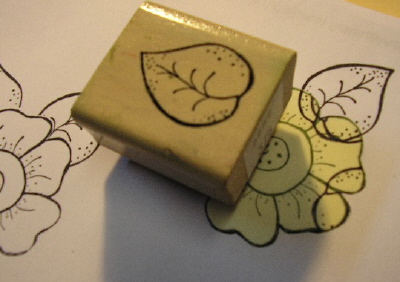 |
Step 2 put mask over stamped flower stamp leaf image on top of mask |
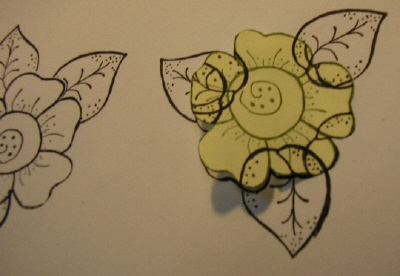 |
Step 3 Take care to stamp leaf image where leaves would look natural |
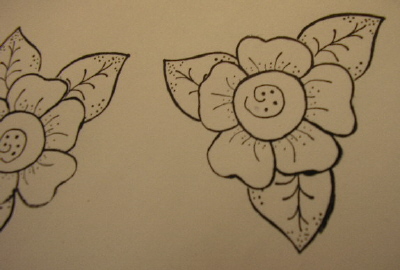 |
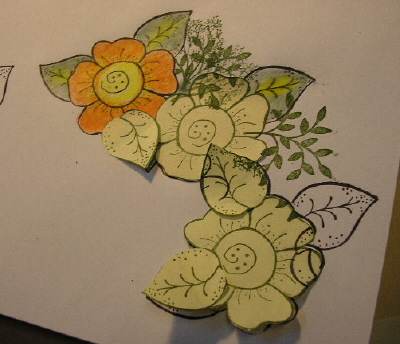
Step 4 Remove mask The leaves that were stamped on top, now appear to be behind the main image |
 |
Step 5 Continue adding to make a natural arrangement of flowers |
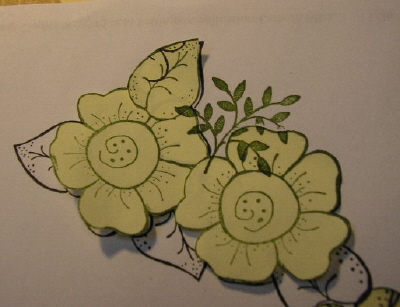 |
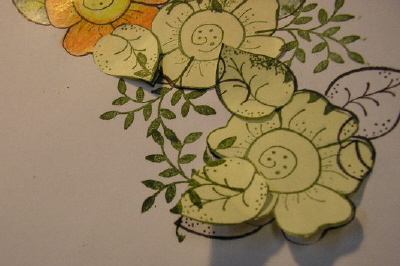
Step 5 Mask again, and add some fill in leaves |
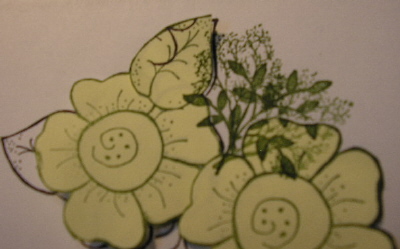 |
Step 6 Mask main images add baby's breath |
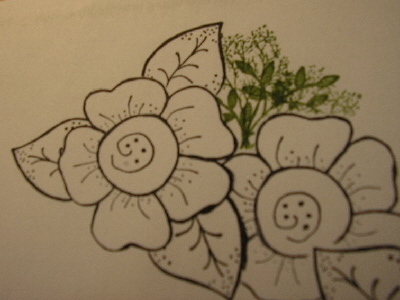 |
Step 7 When masks are removed all the filler images appear to be behind the main images |
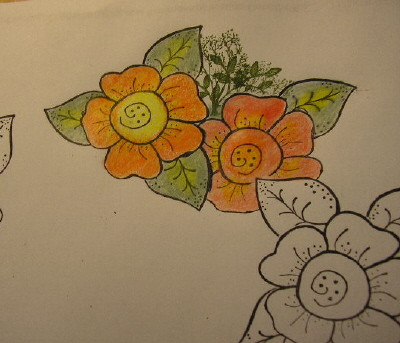 |
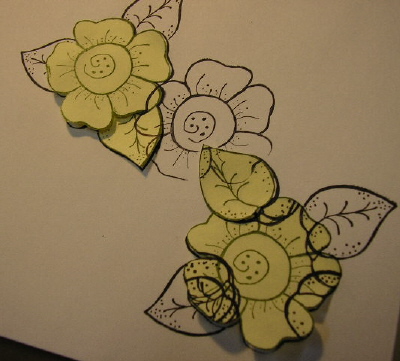
Step 8 Color in main images |
 |
Step 9 Now that you can see some of the main image colored, you may want to add more fillers, and baby's breath. Mask main images again, and fill in |
 |
Step 10 Keep adding until your arrangement looks full |
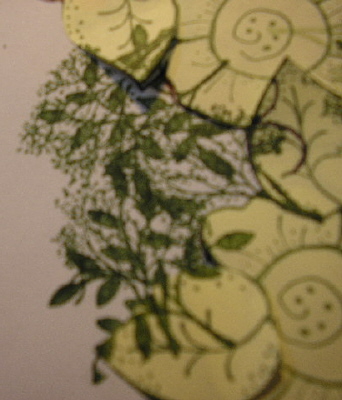 |
Step 11 Add the baby's breath where desired |
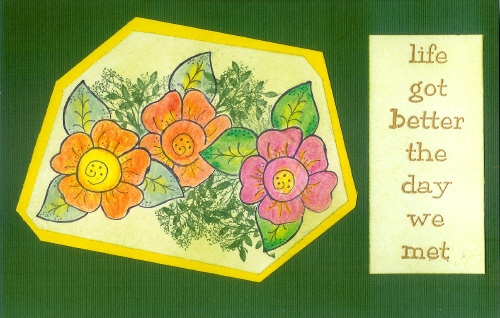
To make the card, trim around scene as desired layer on a complimentary piece of cardstock, and trim in a similar fashion. To soften the white background paper, use a color duster or stipple brush and softly add lettuce ink. The sentiment is stamped with Versamark ink on white cardstock, and embossed with Champagne Pearlustre EP. The white background is also softened by dusting the lettuce ink to match the focal piece. |
 #3896 |


Andy did this "scene" on scratch paper just to demonstrate the technique,
and was about to throw it away,
but I snatched it and brought it home to make a card
Card Collaboration- Andy and Jambalaya
©Andy Wright and V. Blancq
Copyright©
2000-2016 Stubby
Stampers.
New additions
January 10, 2016
Website
Design By VABHAB Designs.